qemu+gdb调试Linux内核
前言
调试Linux内核可以使用VM双机调试,不过使用qemu来调试会更加方便。
环境搭建
编译源码
这里下载的是linux-4.10.10
解压tar -xvJf linux-4.10.10.tar.xz
安装依赖
| |
编译内核
| |
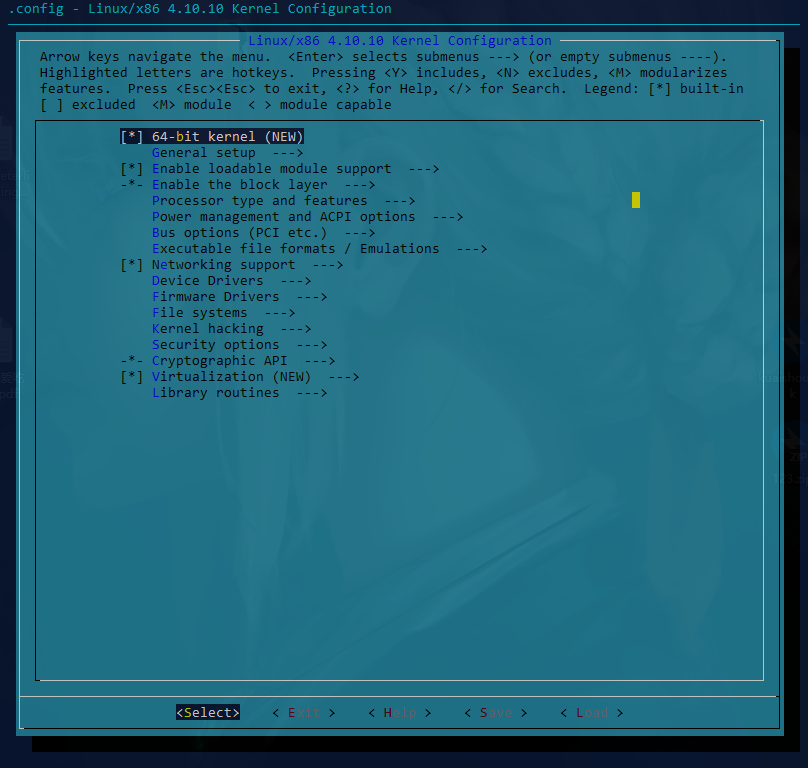
进行配置:KernelHacking —> Compile-time checks and compiler options选中
| |
| |
| |
| |
保存退出。
命令make -jN 进行编译
之后make all
| |
编译完成之后,vmlinux在源码根目录、bzImage在./arch/x86/boot/下
构建initramfs根文件系统
借助BusyBox构建极简initramfs,busybox最新版下载地址
编译静态版Busybox
| |
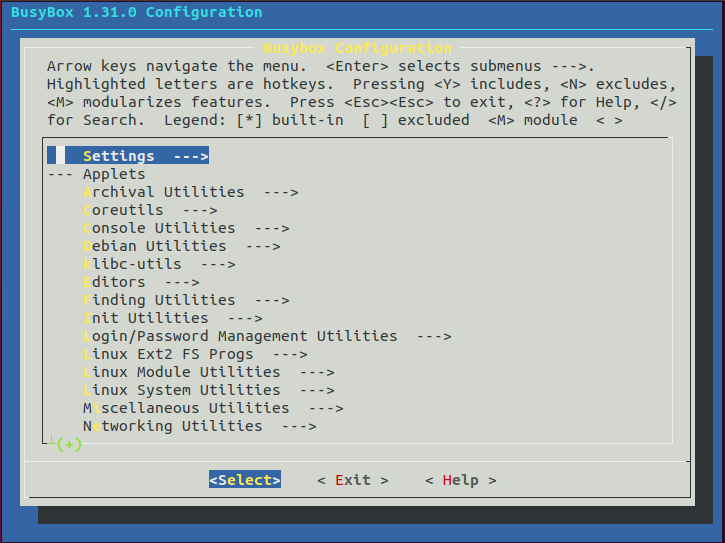
设置以下选项:
Settings -> Build Options -> Build static binary (no shared libs) 编译成静态文件
开始编译:
| |
等待编译完成源码目录下出现_install目录,进行配置:
| |
创建文件系统
| |
运行内核
| |
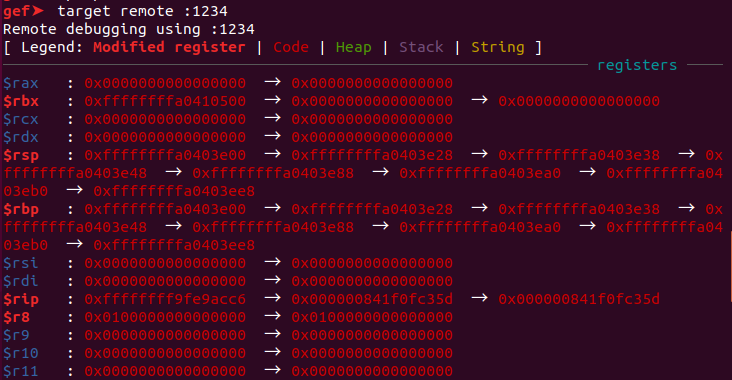
cpu kvm64,+smep,+smap设置CPU的安全选项,这里开启了smap和smepkernel设置内核bzImage文件的路径initrd设置刚才利用busybox创建的rootfs.img,作为内核启动的文件系统gdb tcp::1234设置gdb的调试端口为1234 在GDB中通过 target remote localhist:1234进行连接
驱动
insmod 加载驱动
rmmod 卸载驱动
lsmod 查看加载了的驱动
调试测试
qemu启动,启动后的界面

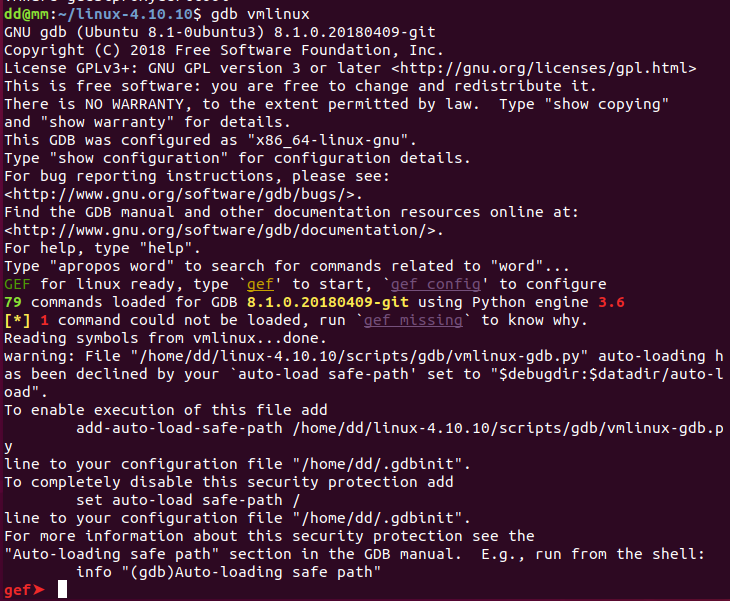
启动GDB
使用内核提供的GDB辅助调试功能:(gdb)apropos lx
调试内核模块:add-symbol-file 添加模块文件
断点测试 b cmdline_proc_show
cat /proc/cmdline 触发断点